|
|
|
||||||||||||||||||||||||||
|
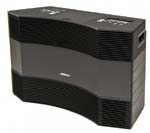
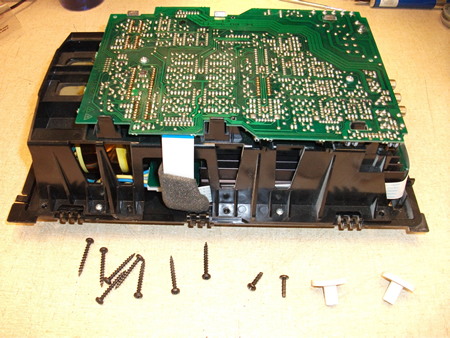
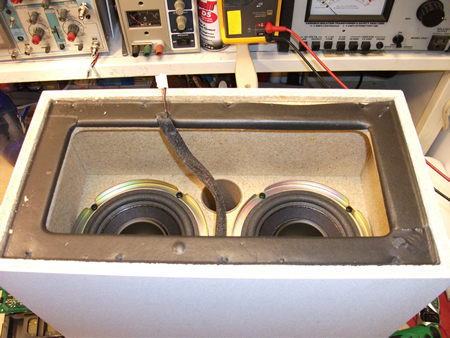
● Acoustimass Modules
|
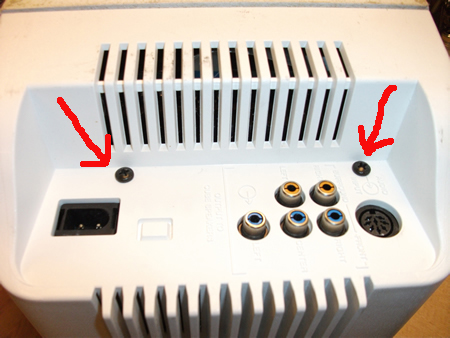
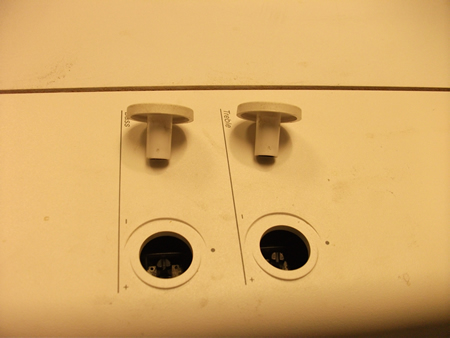
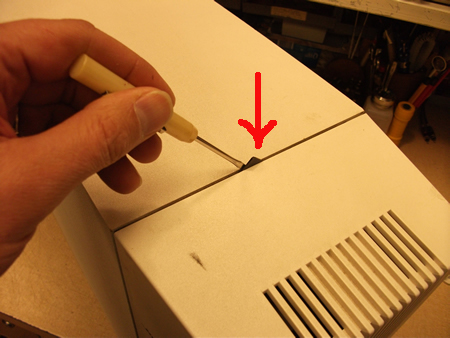
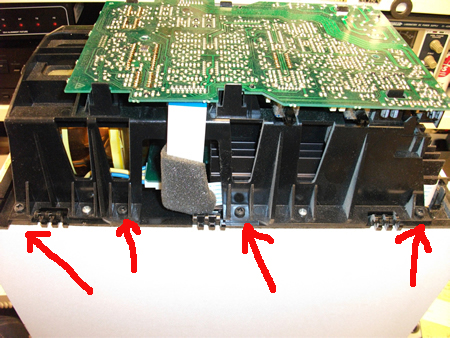
The electronics module itself can be sent in for
repair. This will save by not shipping the entire cabinet. 1. Remove all cables and power
cords before proceeding.
|
||||||||||||||||||||||||||
|
Phone: 719-550-5810,
E-mail:
norm@norbern.com |
|||||||||||||||||||||||||||